
The Best US Online Slot Games that Incorporate Sci-fi Elements
Sci-fi themed slot games have become increasingly popular among online casino players in the US. The best slots sites offer a variety of sci-fi slot games, from classic film franchises to unique western-themed games. These games often incorporate innovative features and bonus rounds inspired by futuristic concepts, such as activating teleportation portals, triggering intergalactic battles, or unlocking advanced technologies for bigger rewards.
Additionally, sci-fi slot games often come with engaging storylines that unfold as players progress, allowing them to embark on quests, solve...

Nostalgia vs. Innovation – my top 20 SF Movies & TV Series
In the vast realm of sci-fi, the perennial struggle between nostalgia and innovation unfurls. As an enthusiast and seasoned journalist, I embark on an exploration of 20 top-tier titles, deciphering the delicate interplay between venerating classics and pioneering uncharted territories.
Classics Revisited
Blade Runner
Blade Runner, a cyberpunk magnum opus, indelibly etches its influence across generations with its dystopian vision. An intriguing tidbit: the film's opening scene was initially intended for Stanley Kubrick's The Shining. Ridley Scott's...

The Best British SFs of All Time
As a devoted fan of the sci-fi genre, I've taken it upon myself to sift through the vast cosmos of British sci-fi series and movies. Brace yourselves, fellow enthusiasts, as we embark on a thrilling journey through time and space to unveil the crème de la crème of British science fiction. From iconic classics to contemporary gems, this ranking is your compass to navigate the interstellar wonders of British sci-fi.
1. Black Mirror: A Mirror Reflecting our Technological Nightmares
Iconic Sci-Fi Spaceships
Spacefaring vessels in sci-fi have captured our imaginations for decades, each iconic ship telling its own unique story. As a devoted fan of the genre, I'm thrilled to take you on a journey through the cosmos, exploring the most memorable spaceships that have graced our screens. From sleek starfighters to colossal interstellar cruisers, these vessels have become cultural symbols, leaving an indelible mark on the sci-fi landscape.
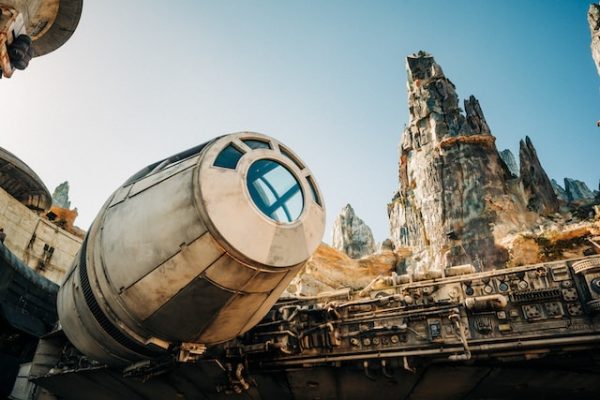
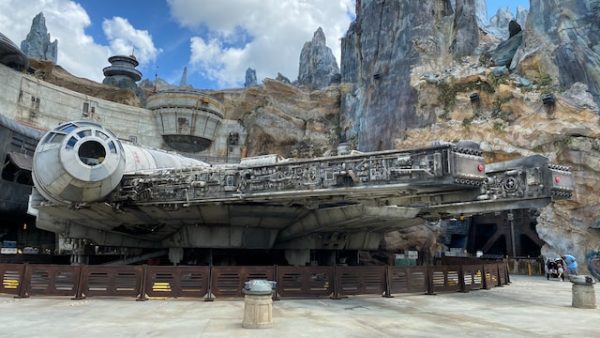
The Millennium Falcon
There's no ship more synonymous with space adventure...
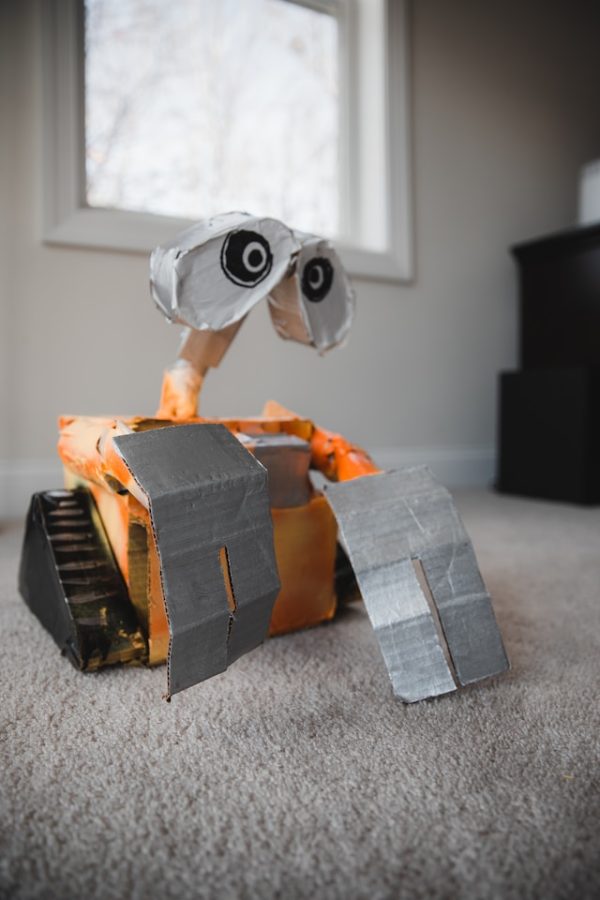
Crafting Sci-Fi Hardware Like the Pros
When it comes to immersing yourself in the fantastical worlds of sci-fi, it's not just about watching the movies; it's about feeling the technology in your hands. Crafting sci-fi hardware miniatures takes the experience to a whole new level, allowing you to connect with your favorite universes on a tangible, hands-on level. In this blog, we'll explore the intricate art of crafting sci-fi hardware miniatures like a pro.
The Fascination with Sci-Fi Hardware
Sci-fi hardware is more than...
The Ultimate Guide to Eagle Transporter Models
Here we focus on the iconic Eagle Transporter and other must-have pieces from the Space 1999 universe. Check here for latest news, reviews, and updates on the stellar collectibles.
Exploring the Eagle Transporter: A Timeless Classic
Our adventure begins with the legendary Eagle Transporter, a symbol of space exploration since its debut in the '70s. Let's explore its design, significance, and why it remains a sought-after gem among collectors.
The Eagle's Journey Through Space 1999
Delve...